In this tutorial we're going to take a quick look at how to touch up a photo with Picasa free photo editing software from Google. If you would like to follow along but don't have Picasa feel free to download it here.
If you have just downloaded Picasa (this was our first time using it as well), when you open it for the first time it will do a quick scan of your computer to find pictures you already have. This may take a few minutes depending on how many pictures you have stored on your computer.
Choose Photo
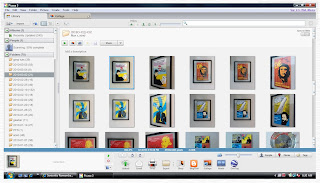
After Picasa has loaded all of your images choose a file that you would like to work with, or you can use ours (just right click save). We decided to go with a picture of our Dr. Seuss print; despite the fact that we were using a good digital camera with autosettings selected the picture came out crooked and dark. We will walk through how we fix this step by step. Just click on the pictures as we go to make them bigger ;)
Open Photo
If this is your first time in Picasa just double click the file you would like to work with to open it. Once the file is open you will see a few things. On the left side you will see your basic editing controls where we can make basic fixes, more specific tuning, and add effects. On the bottom of the window you will see print, export, email options as well as a pretty cool blog this feature.
You will notice that our photo is a bit on the dark side and it's crooked.
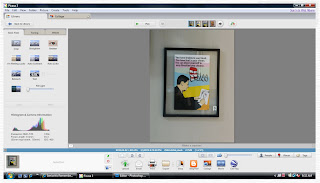
The first thing we want to do is straighten the good doctor out. We clicked on the straighten tool on the basic fixes tab and this brings up a slider to adjust our image.
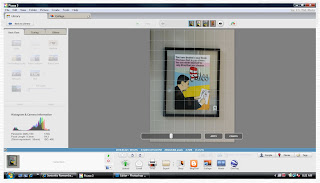
Use the slider below the photo to adjust it until it is straight, or as close to straight as you want it to be :) After some quick tweeking our photo is now straight:
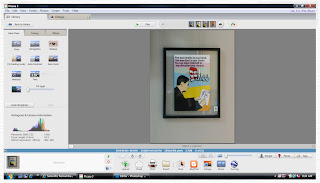
We now want to take a look at adjusting the color. We think adjusting color boils down to personal preference; some people like their images to be highly saturated with very bright colors while others prefer softer looks or even black and white. Picasa offers a lot of color options so experiment a bit, have some fun, and see which settings you like best.
We are going to go with the feeling lucky settings to get things rolling. Just click the feeling lucky tool on the basic fixes tab and Picasa will make some changes. If you don't like the changes just click the Undo I'm Feeling Lucky button on the left. The feeling lucky changes look like a step in the right direction so we're gonna keep them and further tweek the colors with the Tuning options (the middle tab on the left).
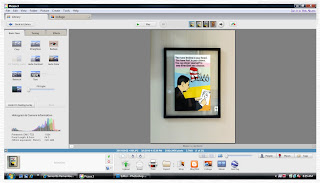
We are making the following adjustments to the Fill Light (25%), Highlights (10%), and Shadows (20%) sliders. These are rough values that we used but feel free to use which ever values you like. These adjustments darkened up the blacks and made the colors in the print pop a little more:
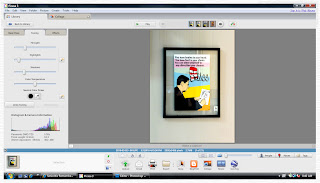
Now let's see what the effects tab has to offer. The effects tab contains a bunch of great effects that are all as simple as the click of a button. We're going with the focal black and white effect which turns the image black and white except for a focal point which remains in color. This effect really softened up the background of our photo further emphasizing our print:
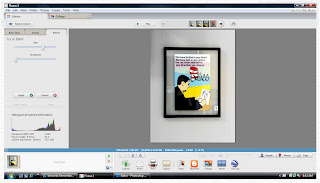
The photo is definitely moving in the right direction but we want to bump the colors up just a little bit. To make the colors brighter we're going to use the saturation tool on the effects tab, we used a setting of about 10% but again play with the settings to find what you like.
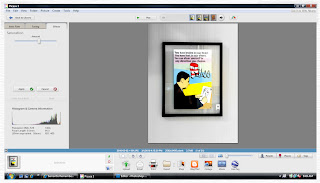
At this point things are looking pretty good so time to start wrapping things up. The first thing to do is crop your image. We're using the manual crop tool on the basic fixes tab.
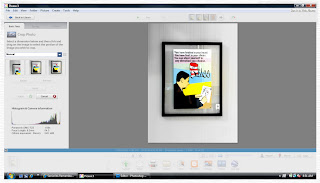
Cropping allows you to center your image or remove any unwanted parts of the image background. After cropping our image this is what we are left with:
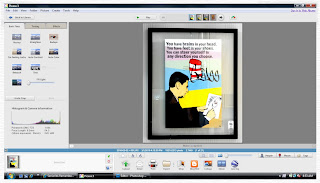
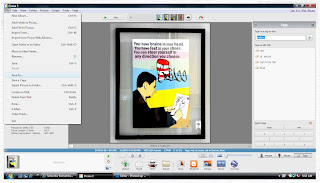
Lastly we want to save our file (we typically save throughout the entire creating/editing process) and add some tags. Since Picasa is a photo organizer as well as a photo editor if we add tags at this point we can then search for them and make albums of items with similar tags later on. Tagging at this point is probably a good idea if you plan on uploading your images to the web too.
A quick before and after just to recap:
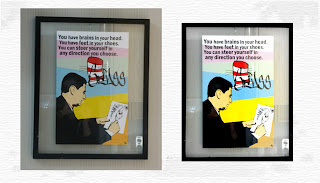
Now using the image we just created we can make a brightly colored Dr. Seuss polaroid:

We hope you enjoyed this tutorial and that it was somewhat helpful. If you have any questions just let us know in the comments section and we will be sure to get back to you. We are currently working on a tutorial to remove an image's background using Gimp. If there's anything else you would like to see covered just leave a comment and we'll see if we can make it happen. Have a senioritis day!
